Category: Kitchen Witchery
Protected: Fall Harvest Salad
Protected: Wild Mushroom Soup
Protected: Welcome Autumn Punch
Protected: Grilled Sunflower Head with Chimichurri Sauce
Kitchen Witchery meets Permaculture For The Fur Babies
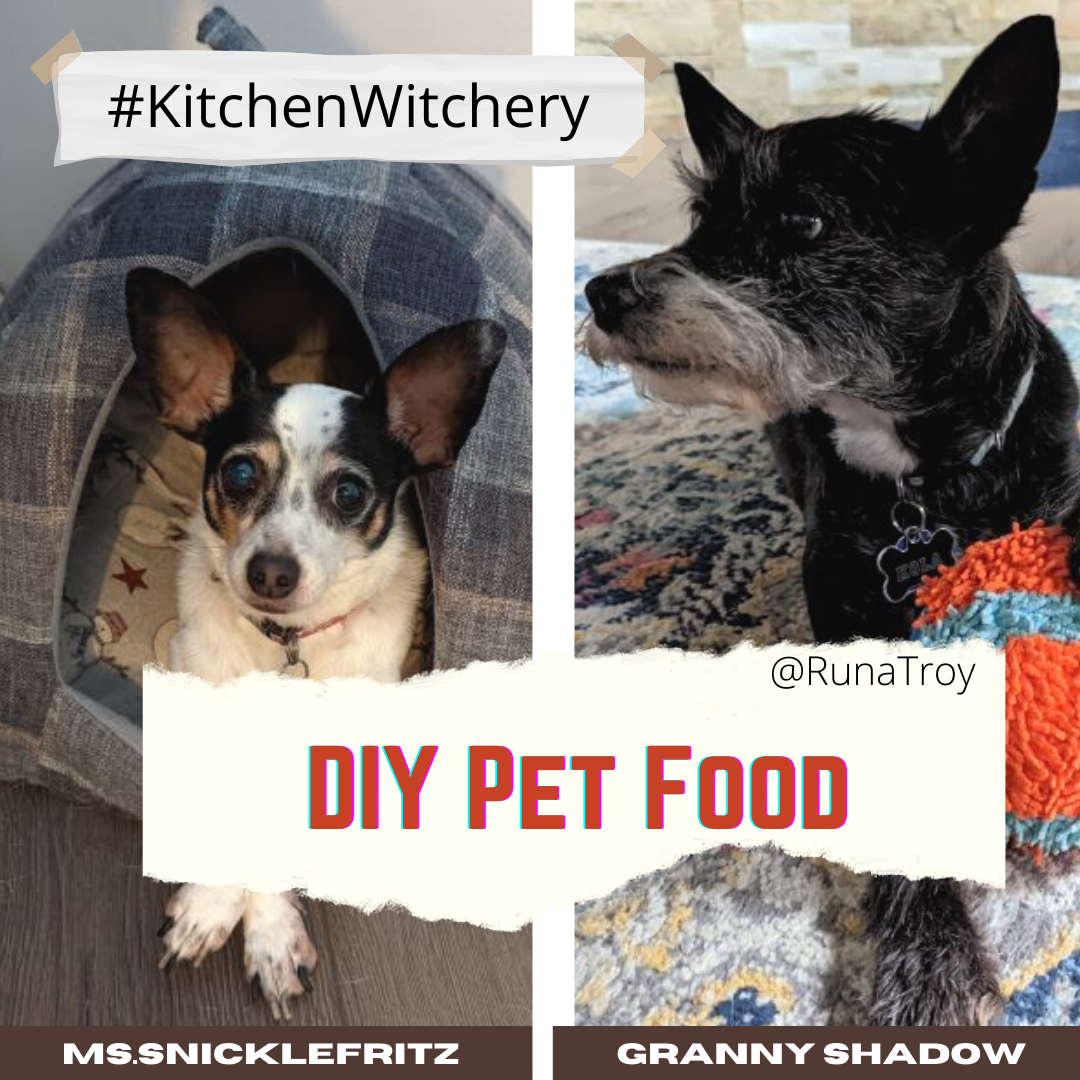
In honor of National Pet Rescue Day – DIY Magic Pet Food

May 20 is National Pet Rescue Day. My current ‘Puppers,’ as The Viking and I call them, are rescues. I’ve always preferred to adopt rescues than purchase my pet because I find they are just so loyal and loving. The added benefit that an animal in need is being cared for is a bonus. I’m not about to get into puppy mills and all that nonsense, or the fact that there are likely just as many feral cats in your neighborhood as there are people. Rescues are a kinder way for the animals and our planet. This Witch is all about kinder to animals and the planet.
Enter Kitchen Witchery and Permaculture to solve a problem. In Permaculture, you Design from Patterns to Details and the pattern was non sustainable food for my familiars. The details of what would make it sustainable begin to emerge.
These Witch’s Familiars, our canine yin and yang, are getting up there in age and now have special dietary requirements. Currently they both have medicated kibble. On top of the kibble we put a wet food, because they’ve made it clear the kibble alone is not very satisfying. Kind of how we have to put cinnamon and fruit on our oatmeal to actually eat it. Also much of the nonmedicated kibble is mostly water and does not have the protein that most canines need.
After finding that most of the softer foods out there are so full of things that my puppers do not need, are horribly expensive, and produce so much waste in its packaging, I needed something more economical, sustainable, and that the furkids would enjoy. About this time last year I started experimenting with making my own canned dog food. The idea to even explore that came to me because I often will make a big batch of stew or soup and I either need to preserve the leftovers, or was finding at least one pint would be used to augment Ms. Snicklefritz and Granny Shadow’s dinner. Much like how I approach the food that The Viking and I consume, I really wanted to know what my dogs were eating. I recognized that the best way to do that was to make it myself. The additional opportunity to make the food a ritual and infuse it with Magic, well, I couldn’t resist that.

The intentions I put into each batch are all about protection, health, and, of course, love. I’m sharing this, as mentioned in the title, in honor of National Pet Rescue Day and in hopes that it might inspire you to look a little closer into your own food as well as that of your own familiar. As a Permie Witch, doing this follows the permaculture principle of Producing No Waste. Every part of our resources gets used. It is to a lesser degree aligning with two other of the permaculture principles: Obtain A Yield, and Creatively Use & Respond to Change. A weaker argument could be made for the tenet of Use & Value Renewables. As we begin the growing, hatching, and birthing season here at Villa Westwyk, we eat with the seasons here as much as possible. It’s a slow change, which also is within the permaculture lifestyle: Choose Small, Slow Solutions. Needless to say, we’re all in here at the covenstead with this “chore,” which is really a ritual and spell. This is about the moment when my youngest, Dragon Son, would say, “you feel me?”
I basically take a left over chicken carcass, stew bone, or even the remnants of a whole fish, bring it to a boil, then simmer several hours. You just need enough water to cover the carcass…don’t go crazy unless you plan to make soup or such soon, or can the broth (that’s what I do). I make broth in a pasta maker, that way the carcass and the meat still on it is easily drained, cooled, and picked through. Sometimes I will refrigerate the broth overnight before continuing with the pet food batch, so I can skim the fat off and use an appropriate proportion with it to cook the veggies in. But you could use oil, butter, bacon drippings, whatever you have on hand.
This is where my protein to make the pet food comes in, so you could buy store bought, but the bone broth provides so many nutrients and is a superbly economical way to acquire pet food. If you want to go full-on Midgardening Witchery, you’ll can the extra broth for the human pets in your life. 😉 My 9 half-pint batches start normally with about 1 1/2 cups to 2 cups of protein. y last batch the protein portion was about 2 cups; I let the protein amount drive the rest of the recipe. If you homeschool, this is a great exercise in fractions and parts of the whole. 😉
I cook up the bite-size veggies with a little bit of fat, add the meat plucked from the bones, make a roux, add the broth, let it cook down a bit and can it up. Alternatively, you may freeze it at this point, or if you can use your batch up within a week’s time, you can keep it in the refrigerator.
If you know how to make biscuits and gravy, or any kind of a roux, this recipe will likely be easy for you. The below recipe makes about 9 half-pint mason jars. If you want to make pint or quart, do the appropriate math. 😉
Equipment:
Broth pot (stew pot with a colander in it, like a pasta cooker)
Cauldron (Dutch oven pot)
Pressure Canner with Jars/Rings/Lids or Freezer containers
Ingredients:
1 part Protein (leftover chicken carcass, ham bone, lamb leg bone, etc.)
1/4 part Fat (bacon drippings, schmaltz)
1 part Veggies (cats and dogs need their veggies, too)
1 part Something to help meld it together (sweet potato, beans, potato, brown rice, etc.)
~ 2 tablespoons to 1/4 cup Flour
~ 2 cups Broth (double if making quart batches)
Salt (optional)

Instructions:
- Make your broth. Put soup bones, poultry carcass, etc. in a pot covered with water. You’re only going to need about 2 cups tops to make a batch of pet food (I do 7-9 half pints at a time). But make as much as you like. If what you’re making broth with was unseasoned (not often on my covenstead) feel free to add a pinch or two of salt. Salt is good for your animals, too. But just like us, too much is not good either to taste or for their bodies.
- Once broth is made, remove the bones and separate any meat/skin/giblets out to include in the pet food. As you do this, put the intention of keeping the sick away from your beloved familiars. You are separating the good stuff versus the discard. Set the meat aside and discard the bones. If you’re going to can your pet food, this is where you’ll need to sanitize your jars, lids, and rings and inspect your pressure canner.
- Into your cauldron, add a bit of fat (butter, schmaltz, bacon drippings, oil) and heat on medium heat. Sauté the chopped up vegetables until tender. I put the veggies in saying, “Here’s to my familiar’s health.” Simple, but effective. Each time I stir the veggies I say it again, “Here’s to my familiar’s health.”
- Once the veggies are tender, add back in the meat you plucked from the bone(s), and sauté with the veggies until warmed (about one to two minutes). If you have things like potatoes or beans in your batch, give them a squish with your cooking spoon to help thicken things up in the next step. Mashing the ingredients in is optional, but my somewhat toothless wonders love it this way (just like aging people, pets sometimes lose teeth as they age). I do a simple stir three times clockwise (aka sunwise), putting a whole lotta love for these furkids into the cauldron’s contents.
- Depending on how full your pot is, you’re going to need between 2 tablespoons to 1/4 cup of flour. You are making a roux with the veggies and meat. Sprinkle the flour on the protein and veggies envisioning the flour as extra protection and mix it all in and let it cook for about two minutes.
- Add in your broth, and simmer until reduced somewhat. You know what wet pet food consistency looks like. You’re looking to get the same. Depending on the size of your batch, this can take five to 20 minutes. My 9 half-pint-jar-batch takes about seven minutes. If you’re filling a canner or freezing quart size containers, then it will go closer to 20 minutes.
- At this point you can package up your food and freeze, but if you’re going to pressure can, I always use half-pint (aka jelly) jars and can get up to 9 jars in my canner. Follow the manufacturers instructions for your personal pressure canner. Can the pet food at 11 pounds pressure for 15 minutes for half pint; 25 minutes for pint; 35 minutes for quart (for you folx with more pets or large pets, quart size might work best).
- Label your food with the ingredients & date and watch your pets gobble it up. Honestly, this is food that humans could eat, too. So, if you don’t label it, no one will be harmed. LOL. Regardless, you know whether man or beast, they are going to dig it. If I’m feeling particularly Witchy, I might put an appropriate sigil on the jar.
- When there’s only one jar left, be sure to make another batch. I also set aside one jar to always have in the pantry to bring abundance for my familiars: food, water, shelter, and love. If you do this “cupboard Magic” be sure to rotate the abundance anchor (your extra jar) so that the food doesn’t go bad. That’s some negative energy there. These will last in your cupboard easily for up to six months.
I hope that this helps you amp up your self sufficiency and self reliance, as well as brings a little Magic for your familiars/pets. Also, please join me in the Adopt Don’t Shop philosophy. And please give to your favorite animal advocate nonprofit. The Viking and I support the ASPCA regularly and have been known to gift animal rescue donations in honor of our loved ones.
Please let me know if you have any questions in the comments. May this recipe bless you and your pets. Now go snuggle your familiar. 😉

A Delightful Surprise That Lasts and Lasts
Pickled Eggs: Beyond The Pub

I received a request for the recipe I use to pickle eggs. And without hesitation, I wanted to provide! Most folks may have been exposed to Pickled Eggs in your local pub or dive bar. I must admit that’s where I came across them; but, travel life brought these to the forefront of my recipe repertoire. They are now a staple, as well, here at Villa Westwyk.
Eggs are associated with the Goddess, the sun, and the elements earth, air, and water. Wow! Of course it’s a symbol of Spring, rebirth, fertility, abundance, beginnings, creativity, and life itself. We’re all well aware of the ancient festivities that elevate the eggs: Passover, Easter, Cascarones (confetti-filled eggs used in Mexico), and many more.
Going to take a moment here and send all my good energy for Ukraine. The Ukrainian culture has have some of the more beautiful rituals with eggs, from their amazing hollowed eggs that are so artistically painted and given as good health charms to those they love, to their ritual where they toss eggshells into moving waters so so their departed can be a part of the celebration. You’ll often find eggs on gravestones left as offerings throughout eastern Europe, including Ukraine.
This recipe I use to reinforce health and creativity in my household. Especially during the Pandemic we are missing our time with friends in the pub to play darts or shoot pool and share a glass and eat some eggs. This let’s us remember those good memories and hope for a return to a time when that’s an option again.
You can find pickle egg recipes just about anywhere, but mine includes a bit of The Craft — if pickling eggs wasn’t Witchy enough for you. So, @fromgoth2boss, this is for you.
Notes:
- I must warn you, this is a recipe that is a practice in delayed gratification, as you need to let them sit for two weeks before you start nom-nomming down. So about the time that one jar of these are ready to eat, I make another.
- These are great snacks anytime and are super healthy and provide some good gut biome stuff for the eater.
- Whatever jar you use, make sure you can get some tongs or your hand in them in order to get the goodies out. If you don’t use a self-sealing lid/ring system and are just using like an old pickle jar, the “pickling” time will have to be done in the fridge.
- There’s some debate about how long these last. Conservative estimates are three months in the fridge. I don’t put mine in the fridge, but they don’t last near three months. If you think it will take your covenstead more than a couple of weeks to eat a dozen pickled eggs once they are ready or you haven’t used a self-sealing lid, keep them refrigerated.
- The veggies in the jar with the eggs make nice toppings on all kinds of food – salads, nachos, or just for a charcuterie board.
- My favorite way to make boiled eggs is to make sure the pan I boil them in is large enough so the eggs can fit snuggly, but not too hard-pressed, on the bottom of the pan. Fill with water just to cover. Put on stove and put the heat to high. Once it boils, turn the heat down to medium and let cook for 10 to12 minutes. I like my eggs on the just-boiled side. So I tend more towards the 10-minute side. Remove as much of the water as possible and dump a load of ice on them and let them sit for about seven minutes. Drain and set them on a dishtowel on the counter to dry. I swear this makes them easier to peel. Tap each end on the counter (whenever I do this I imagine all negativity being banished in the kitchen) and then rub the egg between your hands, gently, back and forth three times. Peel. Save those eggshells for the garden or your compost, or crush and feed to your chickens. If you’re on a boat 😉 they are adored by the fishes and seabirds (just don’t dump while moored in the marina). If you’re living in an RV, save for your next hike and bury in the woods. 😉
- Be advised that the ACV and pickling spices can impart a tint on the eggs. They have not gone bad. If this bothers you, strain your pickling spices and use white vinegar instead. I prefer the health benefits that ACV provides for that good gut biome.

Equipment:
Deep sauce pan
1/2 gallon glass mason jar with lid and ring, sanitized and warm
Cutting Board & Knife for slicing up vegetables
Liquid and Dry measuring cups and spoons
Ingredients:
1 dozen hard-boiled eggs, peeled
1 cup apple cider vinegar
1 cup water
1/4 cup granulated sugar
1 tablespoon of pickling spice
1 teaspoon of salt
2 (or more to your preference) garlic cloves, peeled
1 large bay leaf
1 small shallot sliced thinly
1 jalapeno sliced
Instructions:
- In a medium saucepan, mix together vinegar, water, sugar, pickling spice, and salt. Stir three times sunwise and then widdershins. As you do imagine your covenstead always having eggs in the house.
- Bring brine to a boil; then reduce heat to low until the sugar has dissolved. Add the bay leaf, and when you do know that the web of deceit will be far away from you.
- Remove pan from heat. Let the brine sit in the pan a moment. Breathe in and out three times, imagining all the good energy of Spring enveloping you and all those who imbibe the eggs.
- Layer shallots and jalapenos and garlic on the bottom of the jar. Then put a layer of hard boiled eggs. Repeat with layer of veggies. Then layer of eggs. As you create these layers, imagine stacking health, abundance, and creativity in your life. Really focus on what that might look like in your life. Really visualize. For me that’s writing, walking, yoga, gardening, and reading each day.
- Pour the brine over the eggs, do this slowly. As you do this say: I am strong; I am healthy; I am flourishing. Feel free to repeat until all the brine is in the jar.
- Seal the jar and let it sit on the counter to cool. If you’re using a self-sealing lid, it will seal itself from the heat and air. Keep in a cool dry and dark place for two weeks before eating.
- Label the top of the jar so you know the date you pickled and the date that you can eat. If you want to get really fancy, you can draw/paint, etc. any sigils or bindrunes on the lid to promote health and abundance even further than any egg eating will provide. 😉
- Enjoy (In two weeks!). Honestly you can eat after a few hours, but it’s just not the same taste-wise. So I encourage you to wait.
New Blog Feature: Weekly Kitchen Witchery
Wrapped-Up-In-Hope Asparagus

This is a new feature I’ve been trying to incorporate into this blog/site for some time now. And I’m happy that with the astrological new year I will be able to premiere my Kitchen Witchery of the Week content. For these posts I’ll be incorporating seasonal foods, Wheel of the Year energies, and the Magic and/or spell that goes with it. Long ago when I first began the path of the Craft and still today, Kitchen Witchery allowed me to practice Magic in a very focused way, quietly, and without judgmental eyes. I expect there are many neophyte practitioners that could easily incorporate these workings of Magic into their lives as well. Also, if you’re a crone or well along your path as a Magician, you may find this is an easy addition to your own personal Magical practice. And for those who start their practice, or continue to contain their practice in the proverbial broom closet, this is a great way to walk your path without persecution. I mean, who doesn’t love a good meal? My aim is that you have something yummy, and dripping with Magic to eat and serve your loved ones. So it is.

Because we have begun Aries season and as of today there is a tempermental energy with Mars squaring Uranus, and some of us are still dealing with cruddy winter weather, I’ve put together some Hearth Magic to ease potential or occurring conflicts and bring the hope and the warm cheer of the Equinox and Aries season into our homes and onto our tables.
To work towards this our Kitchen Witchery “spell” is one that features asparagus. The energy of Asparagus is ruled by Mars and Jupiter and the element of fire (think of little green torches). Its masculine energy is also sacred to Zeus. We won’t be using its properties to help fuel male stamina today, instead we’re working with its passion and healing properties. In our workings today we will call out its ability to decrease those anxious heart rates that winter sometimes brings and send a general calm to any part of the body “inflamed.”
Asparagus is a natural and gentle diuretic and is full of strength-building nutrients. It’s a great Spring Tonic to cleanse away the winter doldrums and troubles. It is dense with nutrients, including high levels of folic acid, potassium, fiber, vitamins A, C, B6, and thiamine.
This recipe includes dairy and meat. If your diet precludes you from those, feel free to experiment and find alternatives. You could replace the meat with some thinly sliced cooked mushrooms (which also have massive healing properties). You could replace the goat cheese with some of the Boursin plant-based “cheese.” I am particular about my cheese, yet find that the Boursin “cheese” is very good.

This recipe is for a small gathering, as it only serves 8 single servings or 4 double servings. I tend to make this for a couples brunch or just for those in the household. Even at our max capacity here on the Covenstead of Villa Westwyk, we could serve all five of the kids and my partner and I. This can be eaten with a fork or hand held in a rustic fashion. You decide.
A couple of notes…
- Funny enough, I have found that each bunch of asparagus in the markets seems to have 24 stalks. I don’t know the history behind this, but it works for this recipe, so thank you, farmers.
- You are a super Witch if you make your own, so don’t feel like you have to make this ingredient! Store bought is fine!
- In regards to the Artichoke Antipasto, Trader Joe’s has a yummy and affordable variety; if you can’t find this you could substitute sun-dried tomato spread.
- For the prosciutto, I prefer to get mine from the butcher or deli counter as the packaged stuff is super thin and hard to work with.

Wrapped Up In Hope Asparagus
Tools:
Oven
Extra Large Cutting Board
Large baking sheet
Parchment Paper
Bench Scraper
Glazing Brush
Small mixing bowl
Knife
Non Stick Spray
Candle on your kitchen altar

Ingredients:
1 bunch of asparagus (24 stalks), trimmed to length of pastry
Puff Pastry
Artichoke Antipasto Spread
8 slices of prosciutto
Goat Cheese – about 4 oz.
Egg (for wash)
Herbs de Provence (for sprinkling)
Sea Salt (for sprinkling)


Instructions:
1. Take your time and make sure your space has been cleansed and is ready to perform the Magic. Making sure your space is ready for your working allows you to focus your energy and intention without being distracted. A quick way to do this is to light a small candle (I always have one ready on my kitchen altar). Then I go to the four corners of my kitchen and clap in each corner, which sets a circle quickly and easily (just be sure to keep your intention in mind. Then I stare at the candle for just a moment while taking three cleansing breaths (a little fire magic here) and say my intention out loud. For this working, you can say something like, “Me and Mine find our troubles fading away with every bite and we bring in the fire of the Aries season to motivate us to peace and love.”
2. Defrost your puff pastry. That means you put the package on your counter for about 40 minutes before you’re going to work. Don’t do it longer as the pastry may become hard to work with. The colder it remains, the easier it will do what you want. I also bring out all the other ingredients and bring to room temperature. It makes it easier to work with everything.
3. Preheat your oven to 375 degrees F and line your baking sheet with parchment paper.
4. Lay the defrosted puff pastry out on a very large cutting board and cut each sheet (there will be two in the package) into four squares, so you will have 8 squares in total. As you cut the squares imagine cutting through any conflict with ease and grace.

5. Add about 1 tablespoon of the artichoke spread onto the center of each square and spread it evenly throughout the pastry piece. As you spread this onto the pastry, look at it as a healing balm placed on winter wounds. Spiritually, the artichoke reminds us to have fun on our spiritual path as we peel back the layers within our crown chakra, just as a whole artichoke is peeled to get to the gorgeously satisfying center.
6. Lay a piece of the prosciutto on top of the antipasto spread on each square. As you do this, say, “I lay my worries aside to focus on the love within these walls.”
7. Add at least 3 asparagus tips to each square with the tips into one of the corners of the squares. I think of the stages of life – maiden, mother, crone, as I’m doing this and how the magic of 3 is always so powerful.
8. Crumble goat cheese onto the top of the asparagus evenly throughout the 8 squares. As spring approaches, things like goat cheese are very plentiful. I sprinkle the cheese and envision new abundances coming to us in this season.
9. Lightly whisk the egg in a small mixing bowl. Set aside.
10. Carefully fold one side of the pastry square in the middle as if you were beginning to swaddle it with the puff pastry. Dab a little of the egg wash on the side that will meet the other side and pull the other side of the pastry square over that and brush all of the up-facing pastry with egg wash. Be gentle with the pastry, but try to enclose the fillings as tightly as you can. As you do this your intention to wrap your diners in positive energy is an easy focus.
11. Next take your wrapped-in-hope asparagus and place them on your prepared baking sheet, giving them as much room as possible between each. Sprinkle some Herbs de Provence and Sea Salt over the puff pastries. See new abundance and good health sprinkled over you and yours.
12, Bake for 22-25 minutes or until each is golden brown and the asparagus is cooked. While the savory pastries bake, I will sometimes pull some Oracle cards to put at each place setting for my guests/family.
13. Remove from the oven. Enjoy warm or at room temperature. As you and your guests enjoy these packages of hope and the possibilities of Spring, you can feel the warmth of your love and Magic nourishing and blessing all those around your table and hearth.
14. At the end of the feast, be sure to extinguish your candle. So it is.

If you try this recipe, please let me know in the comments below how it worked for you, both taste and Magic-wise. Post a photo on your social media and tag me.
Next week I’ll be back here with some more Kitchen Witchery! Hope you’ll join me. Happy Spring!